Are you planning to renovate or redecorate your pool? While there are several possibilities, you’re likely to contemplate updating or replacing your tile. Pool tiles have a significant impact, whether it is used on the backsplash, the floor, or in the shower.
Dated or unsightly pool tile may pull the entire space down. Therefore, if you have a tile that has to be changed, you must be quite selective in your choices. While picking pool tile colors may be daunting, you can do it!
Today, we’re going to provide our top five suggestions for choosing the greatest pool tiles available. Continue reading to learn more!
1. Create a budget.
Your budget will ultimately dictate what you purchase. Tile comes in a range of pricing points, so you’ll want to determine your budget before beginning your search. Natural stone, ceramic, and porcelain are all viable possibilities. Ceramic will be the cheapest material, followed by porcelain. As you would expect, natural stone is the costliest kind of stone.
Porcelain is often a good compromise material since it combines the best of both worlds. Porcelain of high quality is practically indistinguishable from marble, offering all of the benefits without the problems. Its solid through-body construction ensures that it is a single colour throughout and makes it both robust and water-resistant, making it worth checking out if your budget allows.
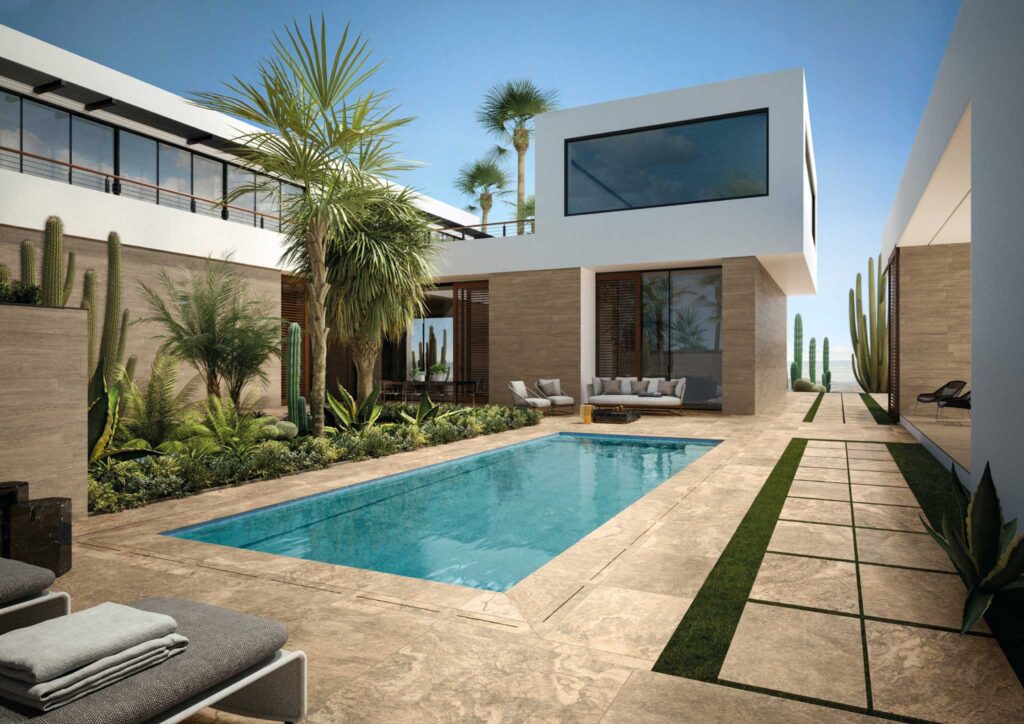
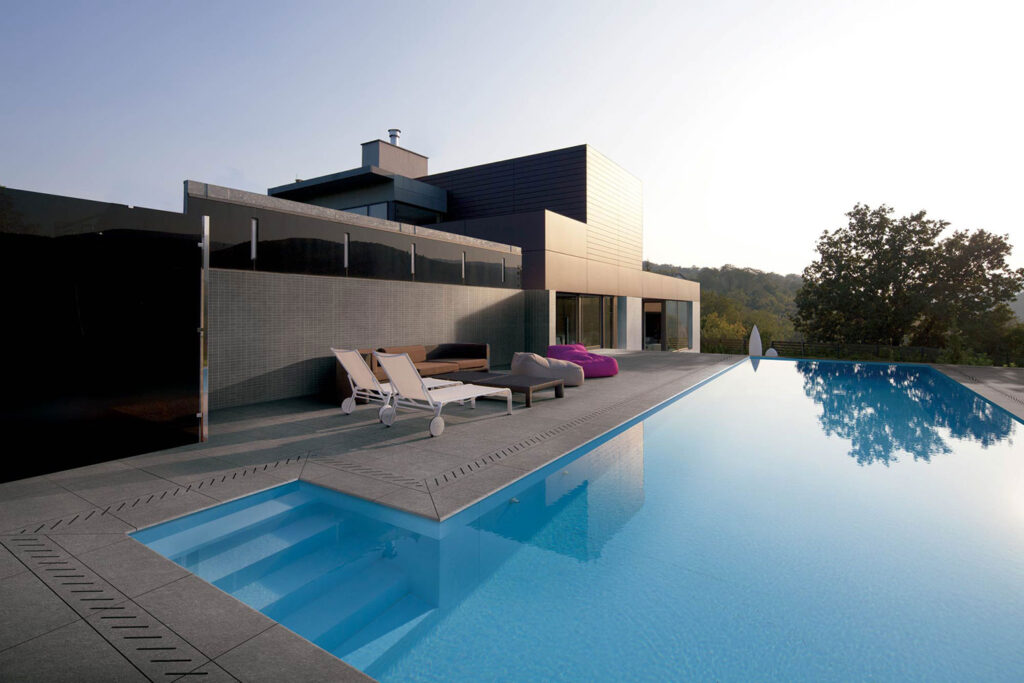
2. Decide on a colour palette.
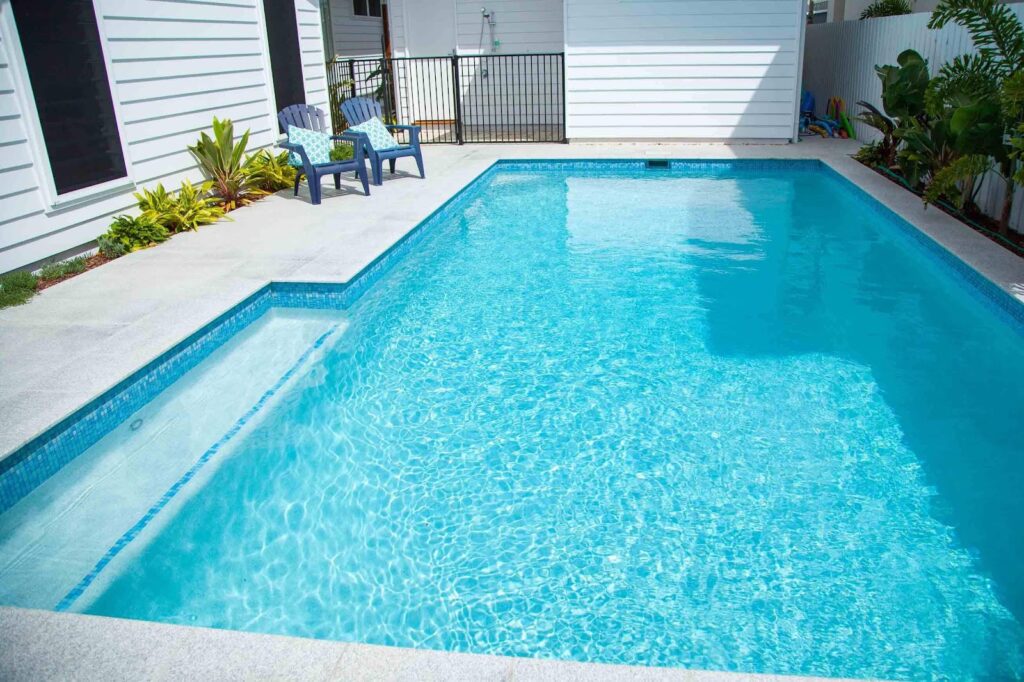
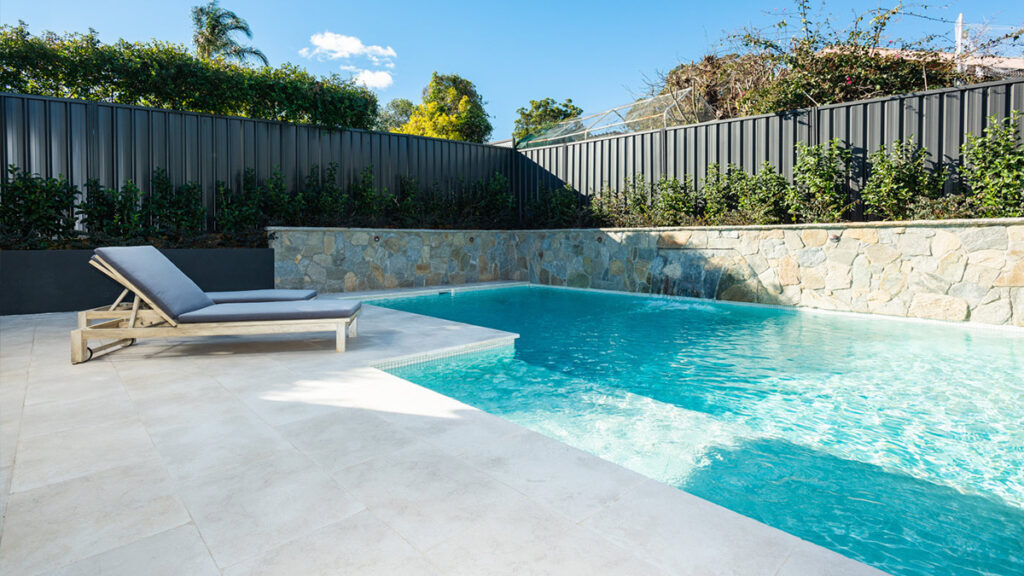
When renovating a pool, it might be beneficial to choose the cabinet and vanity colours first, since this provides a foundation for picking the tile palette. Lighter pool tiles may provide a pleasant touch to a pool, keeping it light and open and enabling you to add colour with towels and knobs.
3. Ensure that the shower is tiled all the way to the ceiling.
When retiling a shower, ensure that the new tile extends all the way to the ceiling– this will help you achieve a clean, completed appearance. Additionally, it is functional since it prevents dirt and water from penetrating the drywall. Additionally, it will make your pool seem taller – always a plus!
4. Determine your size.
Smaller pool tiles were formerly considered conventional, although tile size trends alter over time. Now, 1224 tiles are popular due to their ability to provide the sense of a larger area. However, if you like smaller tile, subway or basketweave designs are ideal.
5. Complete the appearance.
Once you’ve decided on a budget and a colour scheme, you may complete your style to create a united aesthetic. This includes everything from paint to cabinetry and draperies to countertops and backsplashes. Bring samples or photographs with you when you shop so you can imagine how the tile will appear in your new pool. Shop around to see how different materials seem in person and to get a sense of how the tile will fit in your pool. If you really love it, give it some time and then purchase!
Before you begin, consider safety.
While tiling is a generally safe activity, like with any sort of do-it-yourself, it’s wise to use care. If you’re going to be chipping away at and removing old pool tiles or cutting new ones, use protective eyewear. Similarly, if you’ll be using equipment such as trowels, you may wish to wear protective gloves. Additionally, you may use a face mask.
Additionally, it might be beneficial to be aware of the placement of any hot water pipes inside your pool walls. The same is true for electrical connections of any kind. If you’re unclear of the location of the pipes, you may quickly locate them with a pipe finder.
Additionally, you may choose to turn off the water and power to your pool before beginning work.
What tools do I need to tile?
There is nothing more frustrating than attempting to complete a task without the necessary equipment. Therefore, ensure that you have the following equipment on available before you begin tiling your pool.
Measurement tape
Accurate measurement is possibly THE most critical aspect in tiling a pool. If your dimensions are incorrect, you’re in for a nightmare of a task. Invest in a high-quality tape measure (with no obscured markings).
Pencil
Marking your pool tiles is another critical step in tiling your pool. After all, if you can’t see where you’re meant to cut, you’re going to wind up with a mess of miscut pool tiles and off-center holes for pipes and other fixtures. A china-graph pencil is the best kind of pencil to purchase for writing up pool tiles; they are perfect for drawing on hard, glossy surfaces such as tiles.
This is the point at which things get a little more serious. If you want to tile your own pool, we highly advise you to invest in a tile cutter. We’ve found that the best tile cutters are ones with rails (similar to the guillotines used in school to cut paper and cardboard).
The majority of tile cutter versions include a scribe wheel and a breaking arm. Rail cutters come in a range of sizes. However, if you’re tiling your pool with really hard pool tiles, such as Quartz, you’ll likely need to use a wet wheel cutter instead, since regular tile cutters would be insufficient.
Nipper for tiles
While not a necessary equipment for tiling your pool, tile nippers might come in help if you need to cut a particularly tricky or tiny tile. For instance, if you’re attempting to shape a tile to fit around a pipe, a piece of sanitary ware, or a light fitting, you’ll appreciate having a tile nipper on hand.
Spacers for tiles
You don’t want to spend hours measuring and cutting pool tiles just to discover that the grout spacing is incorrect. Tile spacers will assist you in avoiding this specific do-it-yourself disaster. As the name implies, tile spacers enable you to evenly space pool tiles while they are being installed. You may purchase tile spacers in a range of sizes to obtain the desired grouting finish.
Bucket
Because you’ll be mixing adhesive and grout when tiling your pool, you’ll need a container to hold them. While an old washing up basin can suffice, you’ll soon discover that things get rather dirty. Rather than that, it is prudent to invest in a strong bucket. Which size bucket to purchase is determined on the quantity of grout you’ll be mixing, although typically people use 10 litre or 25 litre buckets.
Paddle for mixing
Can’t you simply mix your grout with an old stick? You can, however if you want to simplify your life (and who doesn’t?!), a mixing paddle is an excellent item to have on hand.
Trowel with notch
To distribute the adhesive efficiently on your substrate (the area of the wall to which the pool tiles actually adhere), you’ll need a notched trowel. This is a vital piece of equipment. Typically, notched trowels are constructed of steel and include notches set into the leading edge. You may get a variety of different-sized trowels with a variety of different-shaped notches (if you’re tiling a wall, choose a trowel with curved notches). If you’re tiling or laying a floor, invest in a trowel with square notches.
Floating grout
A grout float will assist you in pressing grout into the spaces between freshly set pool tiles. They are typically constructed with a flat rubber base and a handle above. The rubber base prevents harm to the pool tiles as you push the grout into the gaps.
Spirit quotient
A spirit level will be essential throughout the design phase of your tile arrangement. There are several sorts of spirit levels available, including laser-based models.
Sponge
A tiny investment, but a good one. A new sponge can assist you in completing your tiling task and removing any extra grout that has found its way onto the surface of your pool tiles. You should ideally get a dual-purpose sponge, since the thick cell structure will be robust enough to remove any tenacious grout.
Other article: Trends of Black and White Terrazzo Tiles in 2022